Hands On Experience Handicrafts For Boys Cape Making
All warriors need a cape, and all warriors can make their own cape with hands on experience!
My 8 year old son recently made a cape and has had many adventures, and your son can as well!
Click below to learn everything you need for cape making!

Fighting Dragons With Hand Sewn Capes!
If you are homeschooling boys and want them to learn handicrafts but don’t know where to start, than you have come to the right place! I have a shopping list for you and tutorial that only has 3 steps!
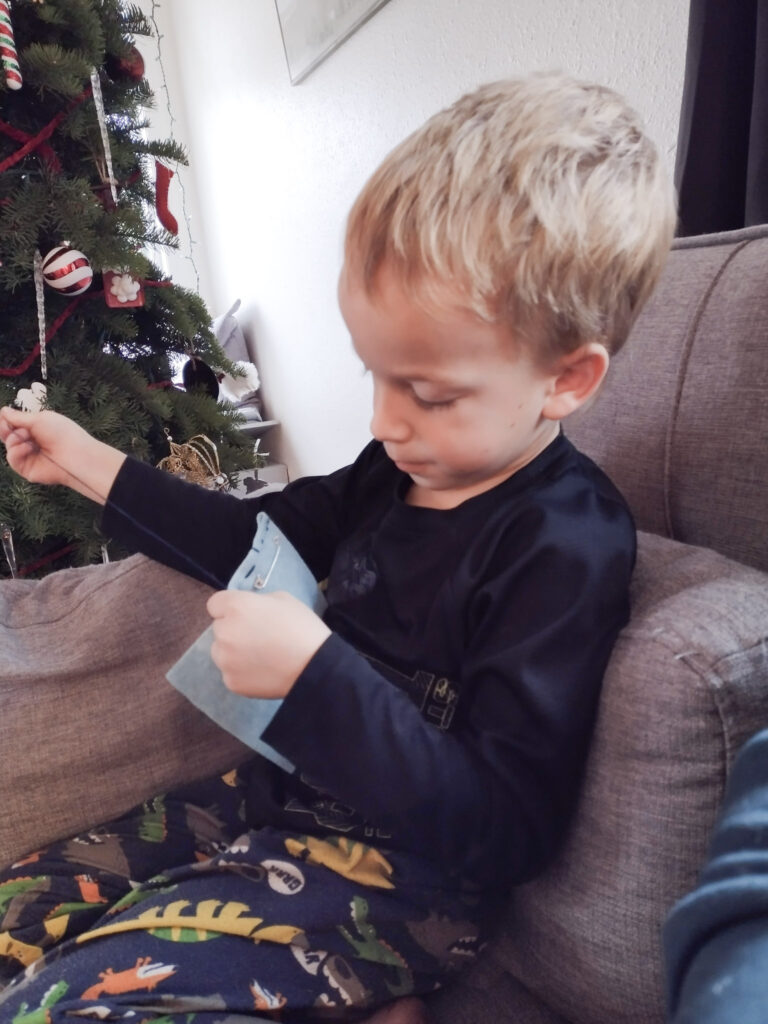
I have 4 boys who have enjoyed learning to sew. My 5th boy is two years old and he loves to use sewing cards so he doesn’t feel left out.
(Sewing cards are the perfect way for young ones to learn how to sew. Here is a very easy tutorial I found to make one for at home or you can buy one by clicking here.)
My 8 year old recently sewed a cape that he used to fight a dragon. Naturally he won. No dragon can defeat him as a matter of fact. Many have tried but all have failed!
The sight of his yellow cape brings the fear of all dragons who see it coming toward them! It has become a sign of death!
Now your warrior too can make dragons shake in their boots!

Materials For
Hands On Experience Cape Making For Homeschooling Boys
I made a cape for my two year old so I could take photos so your boys can learn how to sew one at home. All you need is a few materials, a quick tutorial, and your warrior will be off to save the day!
- Fabric. The cape does not need to be yellow, any color will do.
- Sewing needle-size 8 or 10 because it is easier to thread than smaller ones but will still go through fabric easily.
- Fabric scissors.
- Ribbon, long enough to tie a ribbon around the chest, just below the neck.
- 1 safety pin. Sewing pins or more safety pins optional.
- Clear finger nail polish (optional)
Cape Tutorial For Boys In Three Easy Steps
Step 1 Cut Out The Cape-Hands On Experience
The shape of the cape is a simple rectangle. Measure from the shoulders to the desired length, then cut, adding about 1/2 inch to the width and the length. If you forget it’s no big deal, it will just be a tiny bit smaller than you thought.
Note: When I made the cape for my two year old I cut it as long as the amount of fabric I had would allow, making this project a great one for using up my yellow fabric!
Step 2 Fold The Hem Over And Sew-Hands On Experience
When sewing with a young boy I keep it super simple. It is better for longer lasting to double fold, but my 8 year old just folded once to sew and it has worked surprisingly well and made it much easier for him to sew.
From here you can pin the fold down with sewing pins or safety pins, or just let them fold as they go along. I would try the latter first first to see how it goes. This shortens the preparation times. If it doesn’t work, have your boy pin all the way around.

Handicraft For Boys: Running Stitch Tutorial
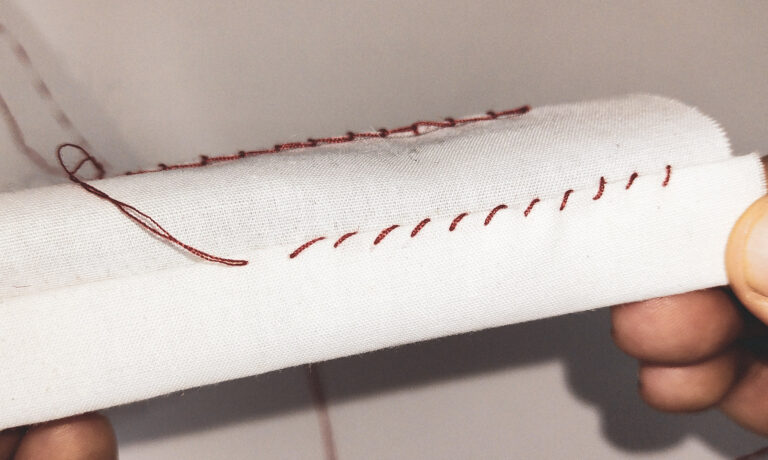
Now we sew the hem all the way around using a running stitch!
First thread and knot. Find tutorial here.
Second, start on a edge as pictured below. Doesn’t matter which one!


Put the needle in and out once, twice, and a third time. Pull through. This is the fastest permanent sewing stitch, making it perfect for your boys to learn!


That’s it! In and out you go all the way around. Don’t forget to knot the end!

Step 3 Sewing On The Ribbon-Hands On Experience
(I completely forgot to take photos for putting the ribbon on when I was sewing the yellow cape! The remedy was making another cape, so for the next few photos you will see white fabric instead of yellow.)
Fold the top over, wide enough to thread the ribbon through. measure to make sure the ribbon has enough room.
At the button use the running stitch to sew the bottom of the fold down so the ribbon can stay in place.

Pin the safety pin on the ribbon.

Push the safety pin all the way through,

until it reaches the other side.

Tie the cape on. Mark where the ribbon is at both edges of the fabric. If you have sewing pins or safety pins, use them to keep the ribbon in place or just hold it place with your finger.

Sew a couple of stitches to keep the ribbon from moving.


Optional: Dab on a bit of clear nail polish to to keep ribbon from fraying.
All Done!
Hands On Experience Handicrafts For Boys Cape Making
In this post you and boy has learned everything you need to make a simple cape. Were you surprised how simple it was?
What else would your son like to learn how to make? Let me know in the comments and I might just make a special tutorial just for your family!
To have my tutorials come straight to your inbox click here to sign up now!

